
Do you want to install an SSL Certificate on your website? Well, this article will help you to do so.
Just you need to follow these simple steps in order to install Lets Encrypt SSL to your site.
Steps to install an SSL Certificate :
Here are the steps you need to follow.
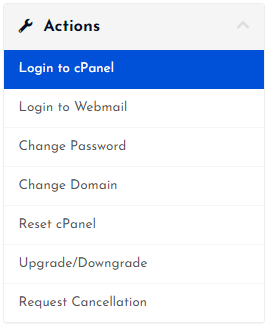
STEP 1 : Login To Your cPanel Account
- Go to ShoutCoder.
- Login your Account.
- Select your Active Product/Services.
- Click on “Login to cPanel” under Action Tab.
- Then you will automatically redirected to your cPanel Account.
Or, If you have cPanel login details then you can easily login to your cPanel account by visiting yourdomain.com/cpanel.
STEP 2 : Go To Lets Encrypt SSL
- Search for SSL in search field.
- Click on “Lets Encrypt SSL” under Security.

- Follow next Step.
STEP 3 : Install SSL Certificate
If you have multiple domains in the account, you have to select the domain on which you want to install an SSL Certificate.
- Select your desired domain.
- Click on the “Issue” button next to your domain.
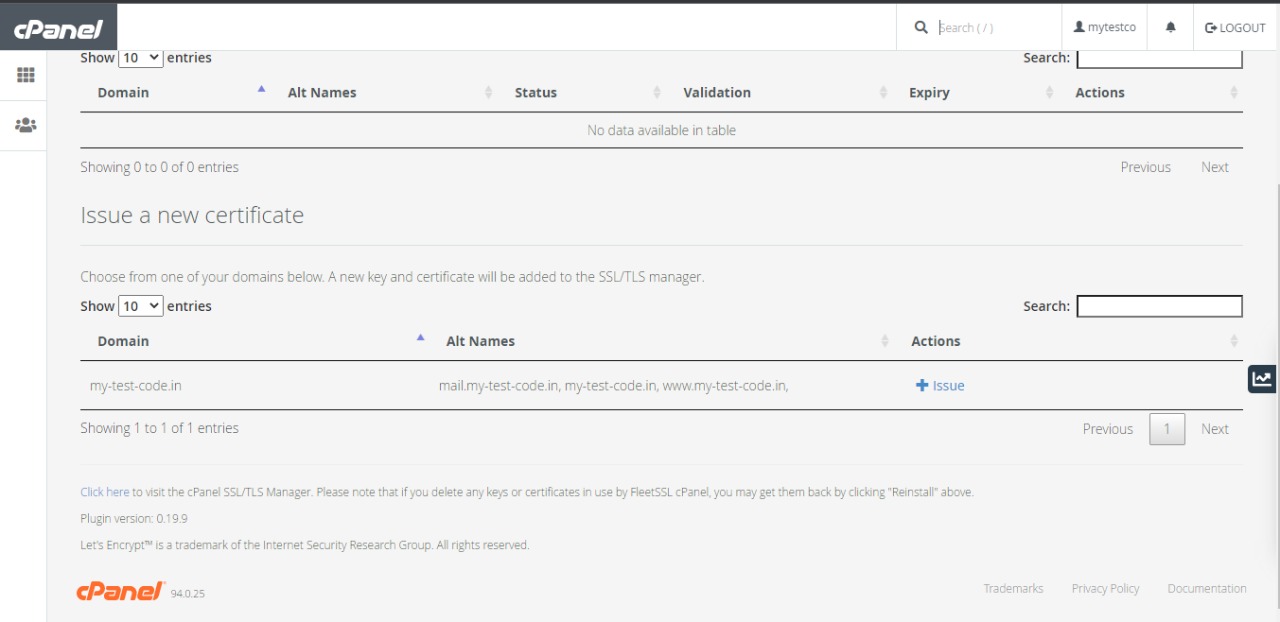
- Now, untick the first alias type domain (mail.your-domain.in)
- Choose “http-01” as an SSL Validation Method.
- Again, click on the “Issue” button.

- That’s it, all done.
After following all the above steps, your SSL will be activated on your given website within 5 minutes. So, just wait & have little patience!
Thanks for reading this article. Hope, you found this article helpful and your query regarding how to install an SSL Certificate in cPanel is now solved.
If you still have any query or issue, you can reach us out through mail, ticket, chat or even call for any sort of support.


