
Do you want to setup cloudflare on your website? If yes, you are good to go with this guide as here we’ll talk about the steps you need to follow in order to setup cloudflare on your site.
Are you ready?
Well, let’s directly jump into the topic without wasting any sort of time.
Steps to setup Cloudflare:
You just need to follow these simple steps mentioned below to set up cloudflare on your blog or website.
Here we go…
STEP 1 – Create Your Account On Clouflare
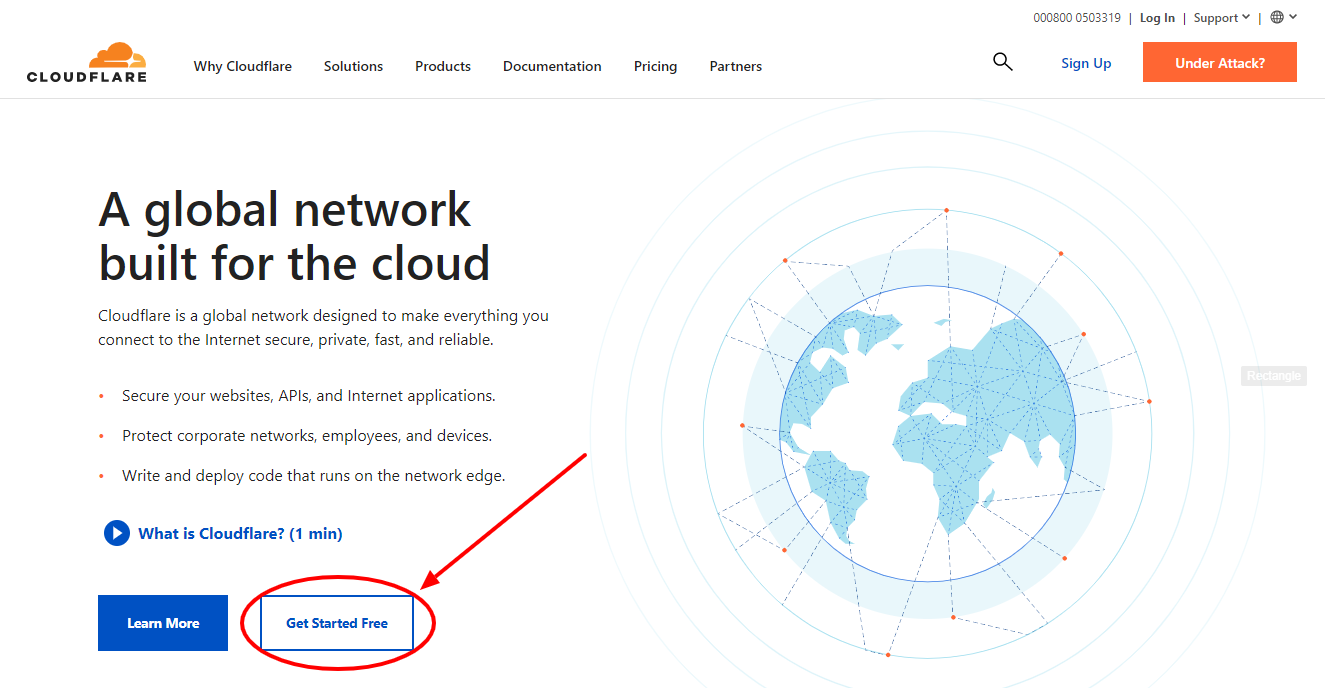
- Go to Cloudflare.
- Click on the “Get Started Free” button.
- Now, fill up the details: Email & Password.
- Then, click on the Sign Up button.
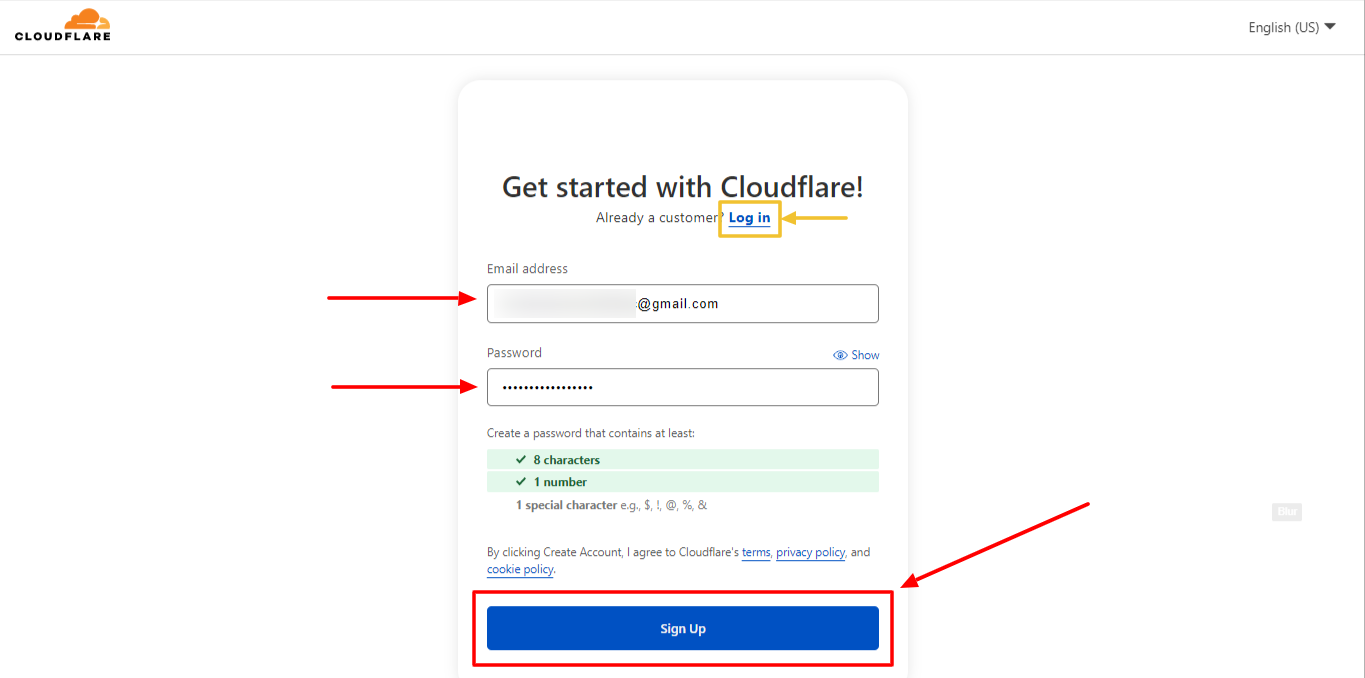
Note: If you already have an account on Cloudflare, you can just click on the Log in button and can logged in to your account.
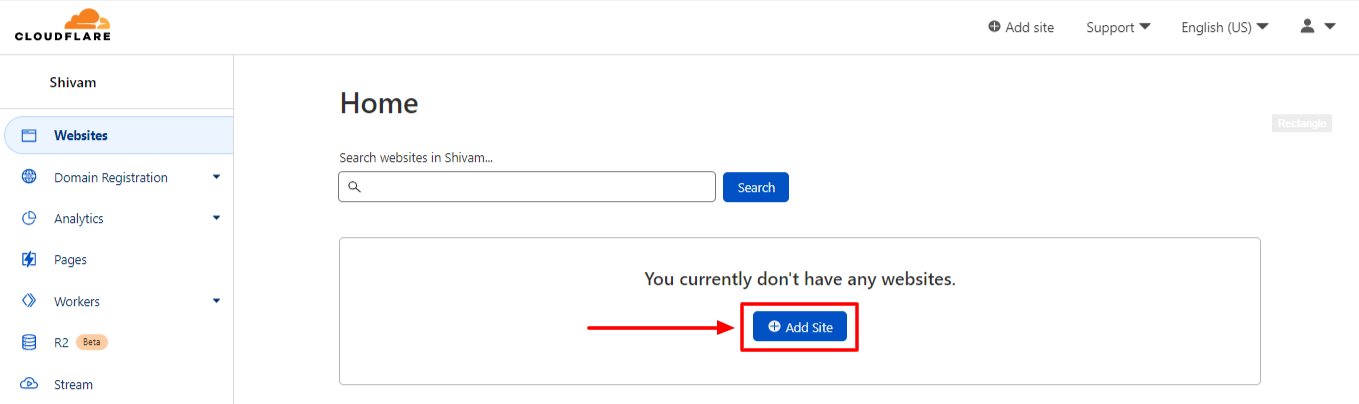
STEP 2 – Add Your Site To Cloudflare
- Click on the “Add Site” button.
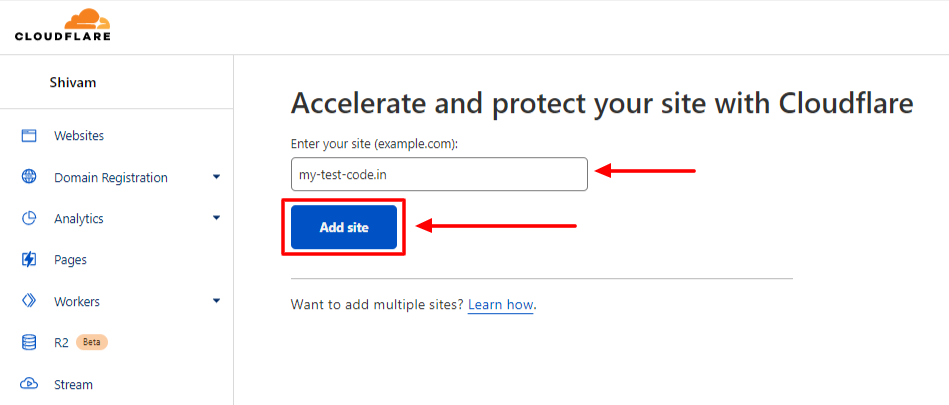
- Enter your domain name not the URL.
- For e.g. – my-test-code.in without http.
- Now, click on Add Site.
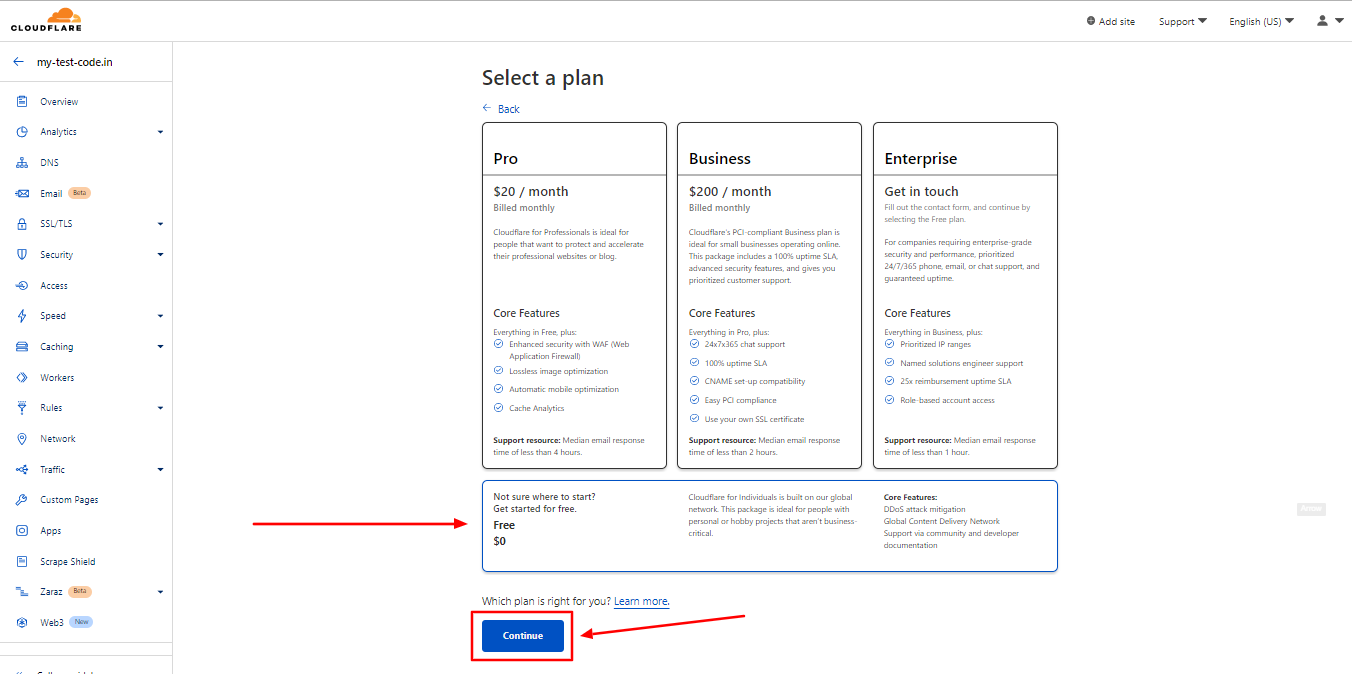
- It will then ask to select a plan.
- You can select any or can scroll down and start with the free plan.
- Select the plan.
- Then, click on the Continue button.
- Wait for a while.
STEP 3 – Manage DNS Records
- Click on the “Add Record” button.
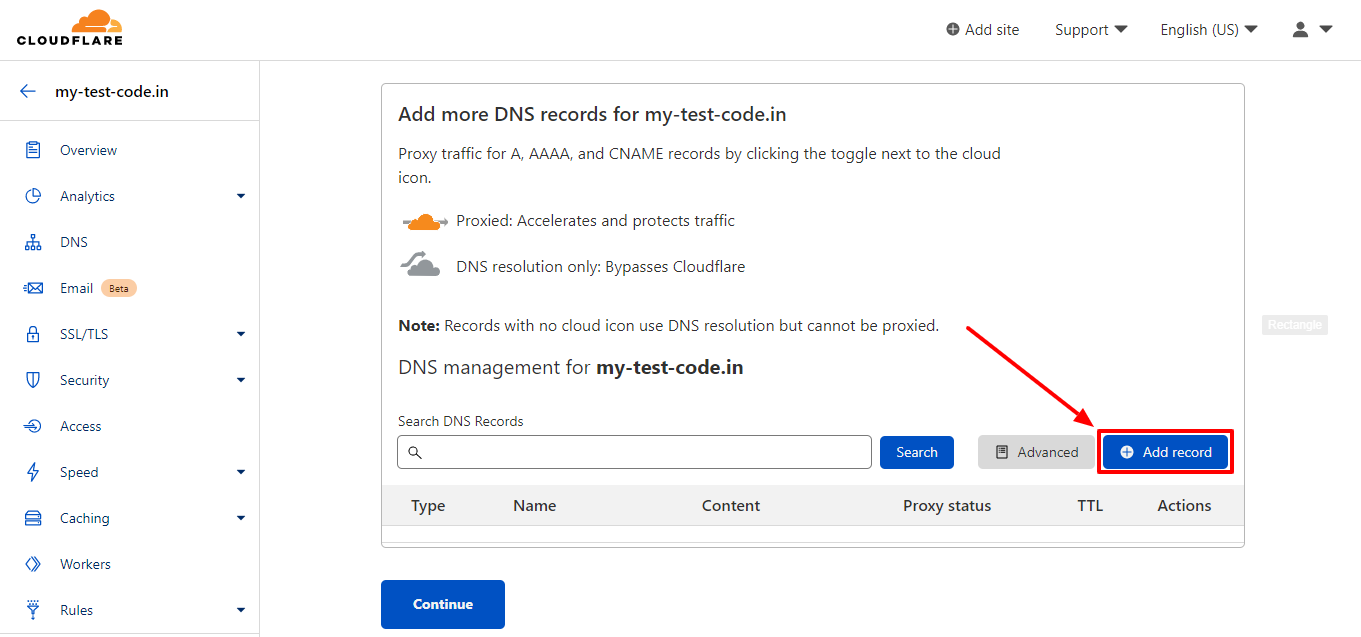
- Add important records.
- Click on the save button.
- Then, hit continue.
- That’s it, you’re done.
Thanks for reading this article. Hope, you are now understand how you can easily setup Cloudflare CDN on your website.
If you still have any doubts or suggestions then please let us know through your comments in the comments section below.
