
Do you want to setup cron job? Don’t worry!
In this article, you will learn how you can easily setup cron job with cPanel.
Are you ready? Let’s move on…
Steps to setup cron job :
Follow all the steps mentioned in this article in order to set your cron job.
Here we go…
STEP 1 – Login To cPanel Account
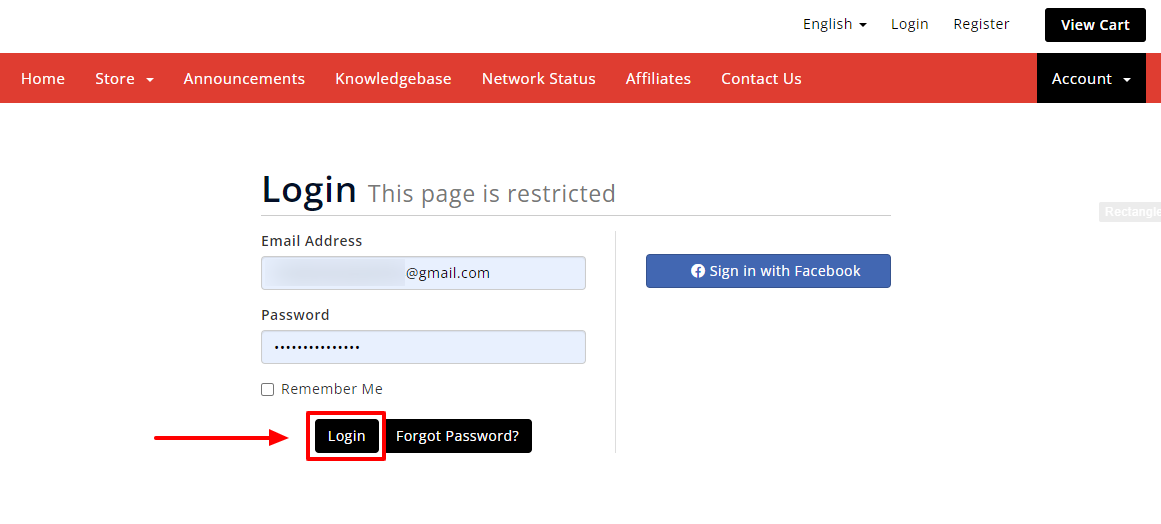
- Go to ShoutCoder.
- Login to your Account.
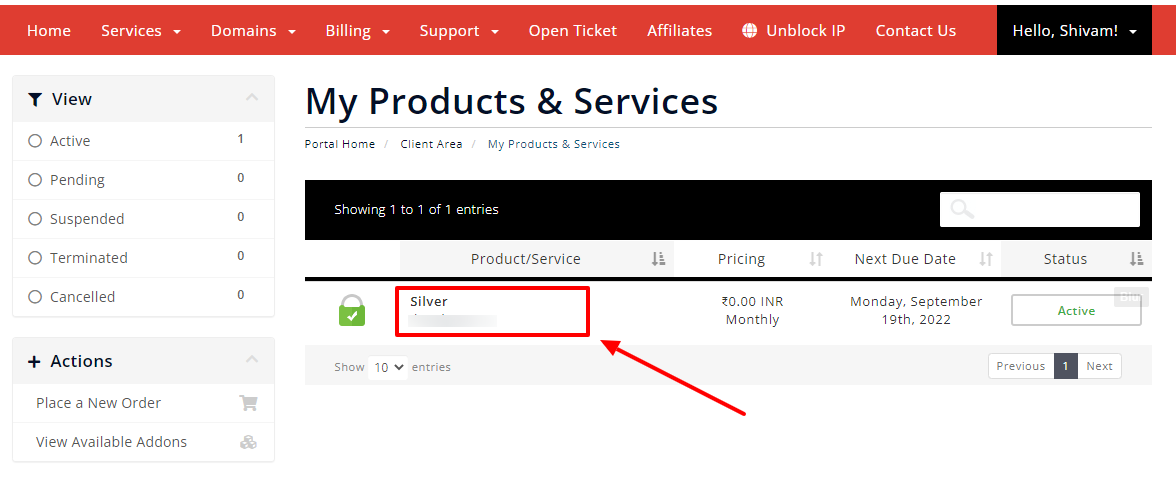
- Click on SERVICES.

- Select your Active Product/Services.
- Click on “Login to cPanel” under Action Tab.
- Or, click on the login to cPanel button just below the nameservers.
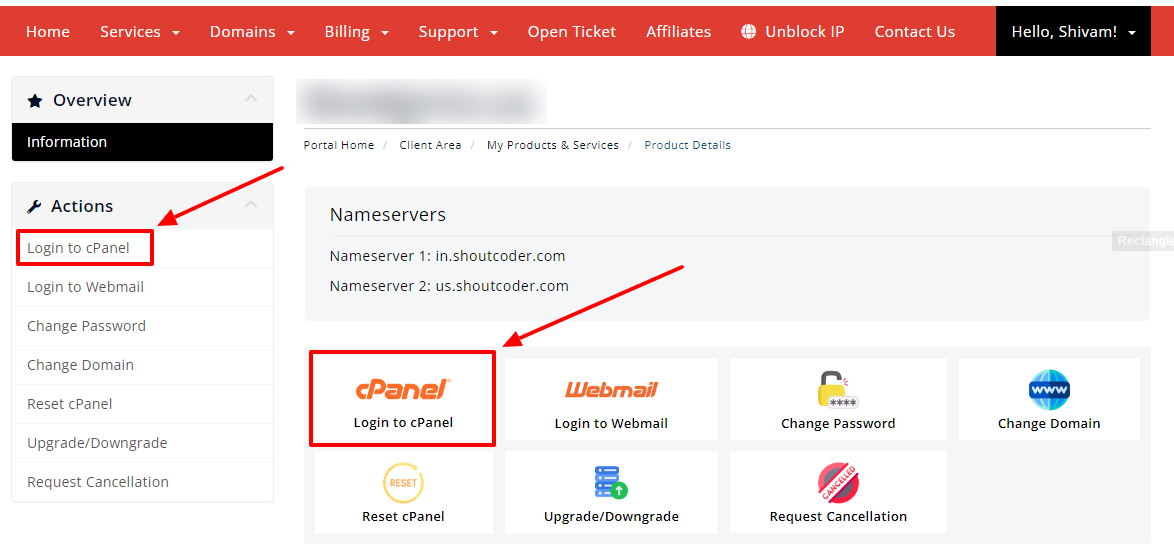
- Then you will automatically be redirected to your cPanel Account.
Or, if you have cPanel login details then you can easily log in to your cPanel account by visiting yourdomain.com/cpanel.
STEP 2 : Go To Cron Jobs
- Search “Cron” in the search bar.
- Go to “Cron Jobs” under Advanced section as shown below.

- Wait for few seconds until the next page appears.
STEP 3 : Setup Cron Job
First of all, you will need to select the common setting among all the predefined configuration options under “Add New Cron Job” section.
As of now, we wanted to setup for each 5 minutes so click on that but you have multiple options available as shown below.
- Click on “Once per Five minutes” option.

- Now, type your command in “Command” option like this :
php -q home/bloggers/public_html/cron.php [cron job URL]
- Then simply click on the “Add New Cron Job” button.

- That’s it, you are done!
Thanks for reading this article. Hope, you found this article helpful and your query regarding how to setup cron job is now solved.
If you still have any query or doubt then please let us know through your comments in the comment section below.


