Do you want to change your domain nameservers in ShoutCoder? But, you don’t know the steps to change the domain nameservers.
Don’t worry! Today, you will definitely learn to change your domain nameservers easily.
Are you ready? Let’s get started.
Steps to change your domain Nameservers in ShoutCoder :
So, you just need to follow all the steps mentioned in this article in order to change your domain nameservers without having any problem.
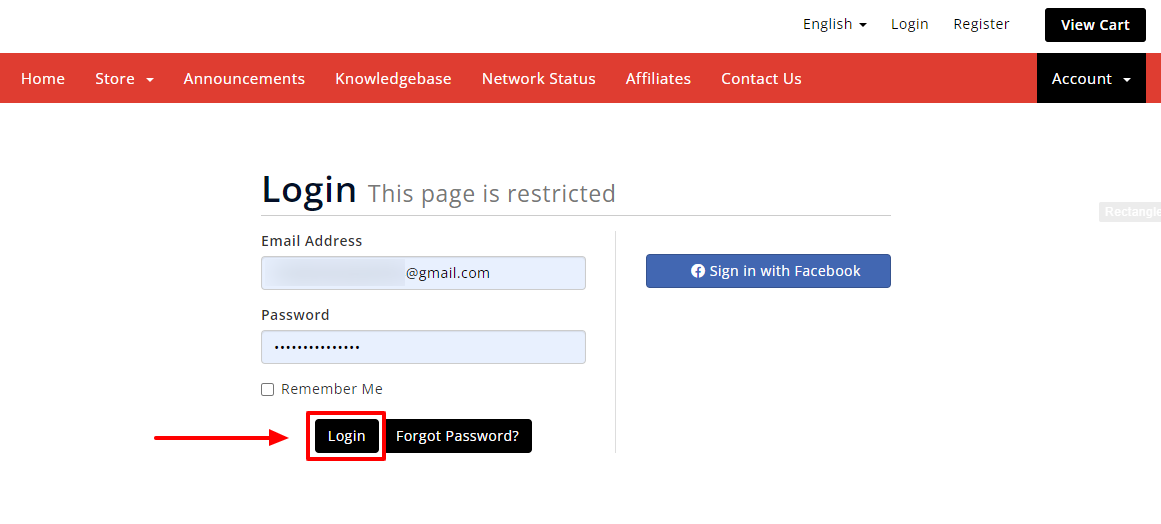
STEP 1 – Login To Your Client Area :
- Go to ShoutCoder.
- Type your Email Address.
- Type your Password.
- Login to your Account.
STEP 2 – Select Your Domain Name
- Click on the “DOMAINS” section.

- Here, you will see all your domains.
- Click on the Domain of which you want to change your Nameservers.

- Wait for few seconds until next page appears.
STEP 3 – Change Your Domain Nameservers
- Click on “ Nameservers” under Manage Tab
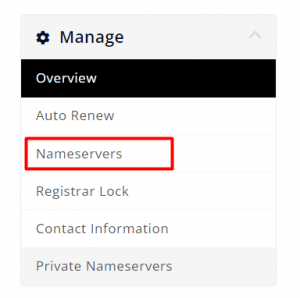
- Click on “Use Custom Nameservers” option.
- Then, fill up the Nameservers in the required field.
- After that, click on “Change Nameservers” button.

- Great, All Done.
- Now, just wait for the nameservers to update.
-
Please be aware that changes can take up to 24 hours to propagate.
Thanks for reading this article. Hope, you now understand how you can also change your domain nameservers in shoutCoder easily.
If you still have any doubts or suggestions then please let us know through your comments in the comments section below.